DIY Rain-Proof Outdoor Bunting: Materials and Step-by-Step Method
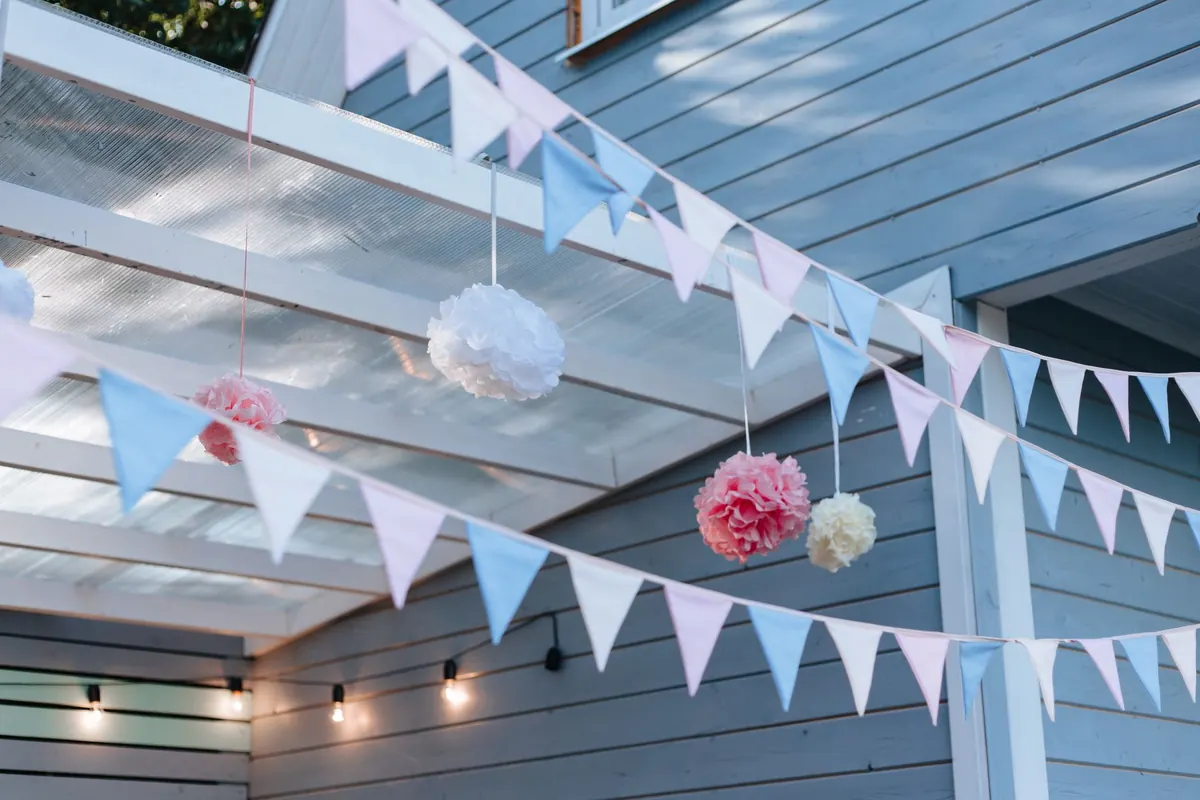
Bunting makes a plain fence, porch rail or patio edge look considered, and it does it cheaply. Then the first real rain arrives. Cotton flags hang like wet laundry, dye runs down the siding, and the line sags into a row of small hammocks. None of that is inevitable. With the right fabric, a few deliberate choices about seams and hardware, and a hanging method that lets water leave instead of linger, you can put bunting up in spring and leave it through the wettest weeks. One honest caveat before we start: rain is manageable, wind is not. Build for water, but plan to take it down when a storm is coming.
There is a difference between waterproof and water-resistant, and it matters less than you might think. A coated fabric blocks water completely but holds it against the surface until it dries. A water-resistant woven fabric lets a little through at pressure points, then dries quickly in moving air. Both work outdoors. The materials that fail are the ones that absorb water and stay wet.
Skip uncoated cotton, burlap, felt, linen and anything paper-based. They look wonderful for one afternoon and turn into a dripping, mildewed mess by the following week.
Two details do most of the work here. First, keep the top edge wide and the sides steep: a triangle about 8 to 10 inches across the top with a 10 to 14 inch drop sheds water well. Second, avoid long shallow curves. Deep scallops and stretched V shapes make gutters, and a puddle sitting in the bottom of a flag is what actually soaks through seams and stains the fabric. A simple triangle or a rectangle with a straight hem performs better than anything decorative.
Cut acrylic with a rotary cutter for clean lines. For nylon, a hot knife or a soldering iron seals the edge as it cuts — do that outdoors or with good ventilation, because the fumes are not pleasant.
Every stitch punches a hole, and every hole is a slow path for water. The fix is fewer seams, not more waterproofing spray. Where possible, cut each flag as one piece rather than joining panels. When you do need a join or a header tape, use a flat-felled seam: fold both raw edges under, lap the pieces, and stitch twice. It buries the raw edges and leaves no raised ridge for water to follow.
For coated fabrics, resist the habit of backstitching at the ends of a seam. Backstitching drives several stitches into the same spot and punches a cluster of holes right where the fabric is under the most strain. Tie the thread tails by hand instead. Use bonded polyester thread rather than cotton, which rots when it stays damp. Finish with a thin bead of flexible seam sealer or clear silicone along the stitched line on the back side, especially along the top where water runs.
Cut hems at least an inch deep. Narrow hems curl on nylon and pull out of shape on vinyl.
The header is the load-bearing part of the whole project, so give it structure. Two layers of fabric at minimum, or better, a length of one-inch polyester webbing sewn along the top with the flags sandwiched inside it. Grommets set into plain fabric will eventually pull through in wind; grommets set into webbing rarely do.
Use stainless steel grommets for anything left outdoors. Brass looks warmer but is softer, deforms faster, and its verdigris can stain pale fabric. Space grommets 12 to 18 inches apart, and keep the outermost ones at least two inches in from the ends. A 3/8 to 1/2 inch inner diameter takes most hanging hardware. If you would rather skip grommets entirely, sew webbing loops or D-rings into the header with a bar tack at each side — they lie flatter and never leak.
Water collects in sagging line. For long runs, use vinyl-coated steel cable or wire rope with a turnbuckle so you can tension it properly. Galvanized wire works but can leave rust marks where it touches damp fabric. Rope and paracord stretch noticeably when wet, which turns a taut line into a droopy one overnight.
Pitch the line so one end sits a few inches lower than the other. Even a slight slope over ten feet moves water to a single drip point instead of letting it sit along the whole run. Tension should be snug enough that the flags do not flap themselves apart, but with a little give so gusts are absorbed rather than snapped. Anchor into structural wood or masonry with screw eyes, not into drywall, and use padded straps rather than wire around tree trunks.
Take bunting down before a real storm. It takes half a minute and it is the single best way to get multiple seasons out of a set. Otherwise, rinse the flags with a hose after pollen season — sap, bird droppings and dust are what actually stain outdoor fabric. Let everything dry completely in the sun before storing it. Roll bunting around a cardboard tube rather than folding it; sharp creases become cracks in coated material. Once a year, check the grommets for looseness, reseal any stitching that has opened, and trim frayed thread ends before they unravel further.
If you want the shortest possible version of this project: buy a roll of marine vinyl or solution-dyed acrylic, a length of one-inch polyester webbing, and a pack of stainless grommets. Cut triangles with steep sides, hem them once, sew them into the webbing, set the grommets in the webbing rather than the fabric, and hang the whole thing on coated cable with a slight tilt. Twenty feet of bunting takes an afternoon and will outlast three sets of the cotton kind.
Photo: Ron Lach / Pexels
Previous Post
How to Make No-Sew Bunting from Old Fabric Scraps
Next Post
Rental Garden Decor Checklist: No Holes, No Damage, No Deposit Lost