How to Make No-Sew Bunting from Old Fabric Scraps
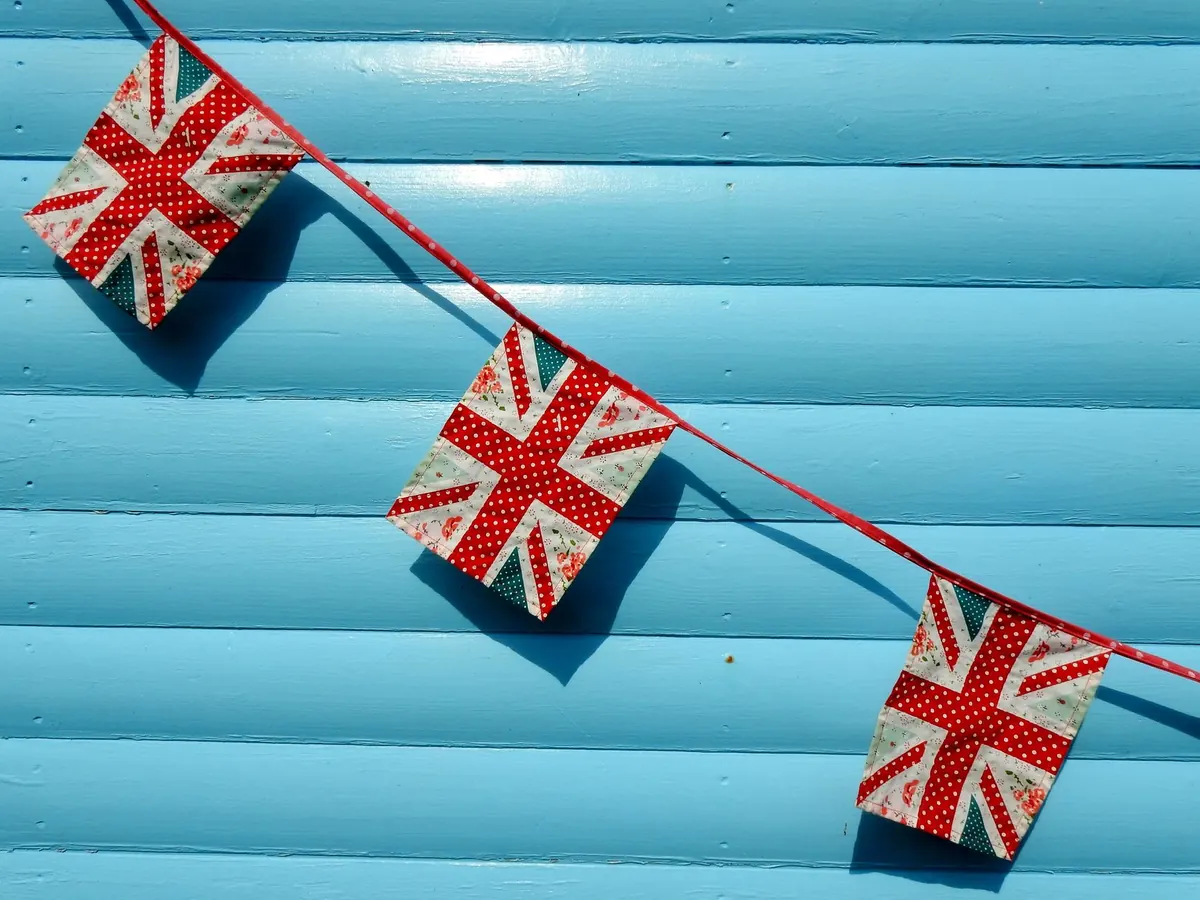
There is a bag of fabric scraps in your house right now: the hem trimmed off old curtains, the shirt with the worn collar, quilt leftovers too good for the bin. None of it needs a sewing machine to become something worth hanging. Bunting is the most forgiving project in garden decor — it looks good slightly wonky, works indoors and out, and no-sew versions hold up better than most people expect, provided you glue them properly and give the glue time to cure.
Tightly woven, low-stretch fabrics behave best: quilting cotton, cotton lawn, linen, cotton-blend sheeting, and the flat parts of old shirts and pillowcases. Stretchy knits curl at the edges and go stiff wherever glue touches them. Slippery fabrics fray and slide. Heavy upholstery fabric works for larger flags but is awkward to fold over a cord.
Choose three to five colours rather than everything in the bag, or the strand reads as clutter instead of decoration. Wash and dry the scraps before you cut, so any shrinking happens now rather than after assembly. Press them flat — wrinkled fabric cuts crooked and glues lumpy.
Nothing on that list is exotic. Most of it is already in a drawer, and the rest costs very little at a fabric shop.
The classic triangle measures 7 inches across the top and 9 inches tall. Medium flags run 5 by 7 inches; minis sit around 3 by 4 inches. Cut your template from cardboard, then trace and cut, or stack three or four layers of scrap and run a rotary cutter along a metal ruler. Layered cutting is quick, but check the pile hasn't shifted before you commit to the cut.
For bunting that hangs from twine or cord, cut a fold-over flap. Instead of a straight top edge, add an extra 1.5 inches above the triangle. That flap folds back over the cord and gets glued down, hiding the cord inside the fabric. On thick jute twine, allow closer to 2 inches so the flap wraps comfortably.
The two diagonal edges are what fray. Pink them with pinking shears, which cut a zigzag that slows fraying, or leave them straight and seal them. Cut with the grain where you can, and on a directional print, keep every flag facing the same way.
Cut a strip of fusible web slightly narrower than your flap. Iron it to the wrong side of the flap, let it cool, then peel off the paper backing. Fold the flap over the cord and press for about ten seconds with a hot iron over a pressing cloth. The bond stays flexible and survives gentle washing.
Run a thin line of glue, not a fat bead — a heavy bead soaks through and leaves a shiny ridge on the front. Press the layers together, weight them with books for an hour, then leave the strand to cure overnight. Test the glue on a scrap of the same fabric first; some thin cottons show adhesive through the weave.
If you're happy with raw edges, pink the two diagonal sides and run a thin line of fray-check or fabric glue along each one. Let it dry clear before stringing. This suits rustic outdoor bunting, where a slightly soft edge is part of the look.
Two strands of slightly different lengths look better than one perfectly even run, and small variations in spacing read as deliberate rather than sloppy.
Sun fades cotton, and that is expected — plan for a season of strong colour, then a softer palette. Bring bunting in before storms; wet fabric gets heavy and pulls on the glued line. Dry it completely before storing, or mildew spots appear. Wash gently in a mesh laundry bag on cold, hang to dry, and iron on low if needed. If the strand lives outside all summer, use an outdoor-rated adhesive and check the joins once a month. Store it wound loosely around a cardboard tube or a rolled magazine rather than crushed into a bag, so the flags don't take on permanent creases.
Ten to twelve flags make a strand long enough for a porch beam, a fence panel, a shed door, or a garden gate. Hang a short run between two stakes above a raised bed, or drape one over a trellis where the tomatoes are climbing. Cut the flags one afternoon, glue them the next morning, and hang them the day after. Keep a bag of scraps beside your cutting mat and you will never run short. This is also a project children can genuinely help with: pinking edges and deciding the colour order are jobs that don't need a sharp blade.
Photo: The Cheap Shot / Pexels
Previous Post
Seasonal Garden Flag Calendar: What to Display Month by Month
Next Post
DIY Rain-Proof Outdoor Bunting: Materials and Step-by-Step Method